Piecing It Together: Conservation of a Photograph
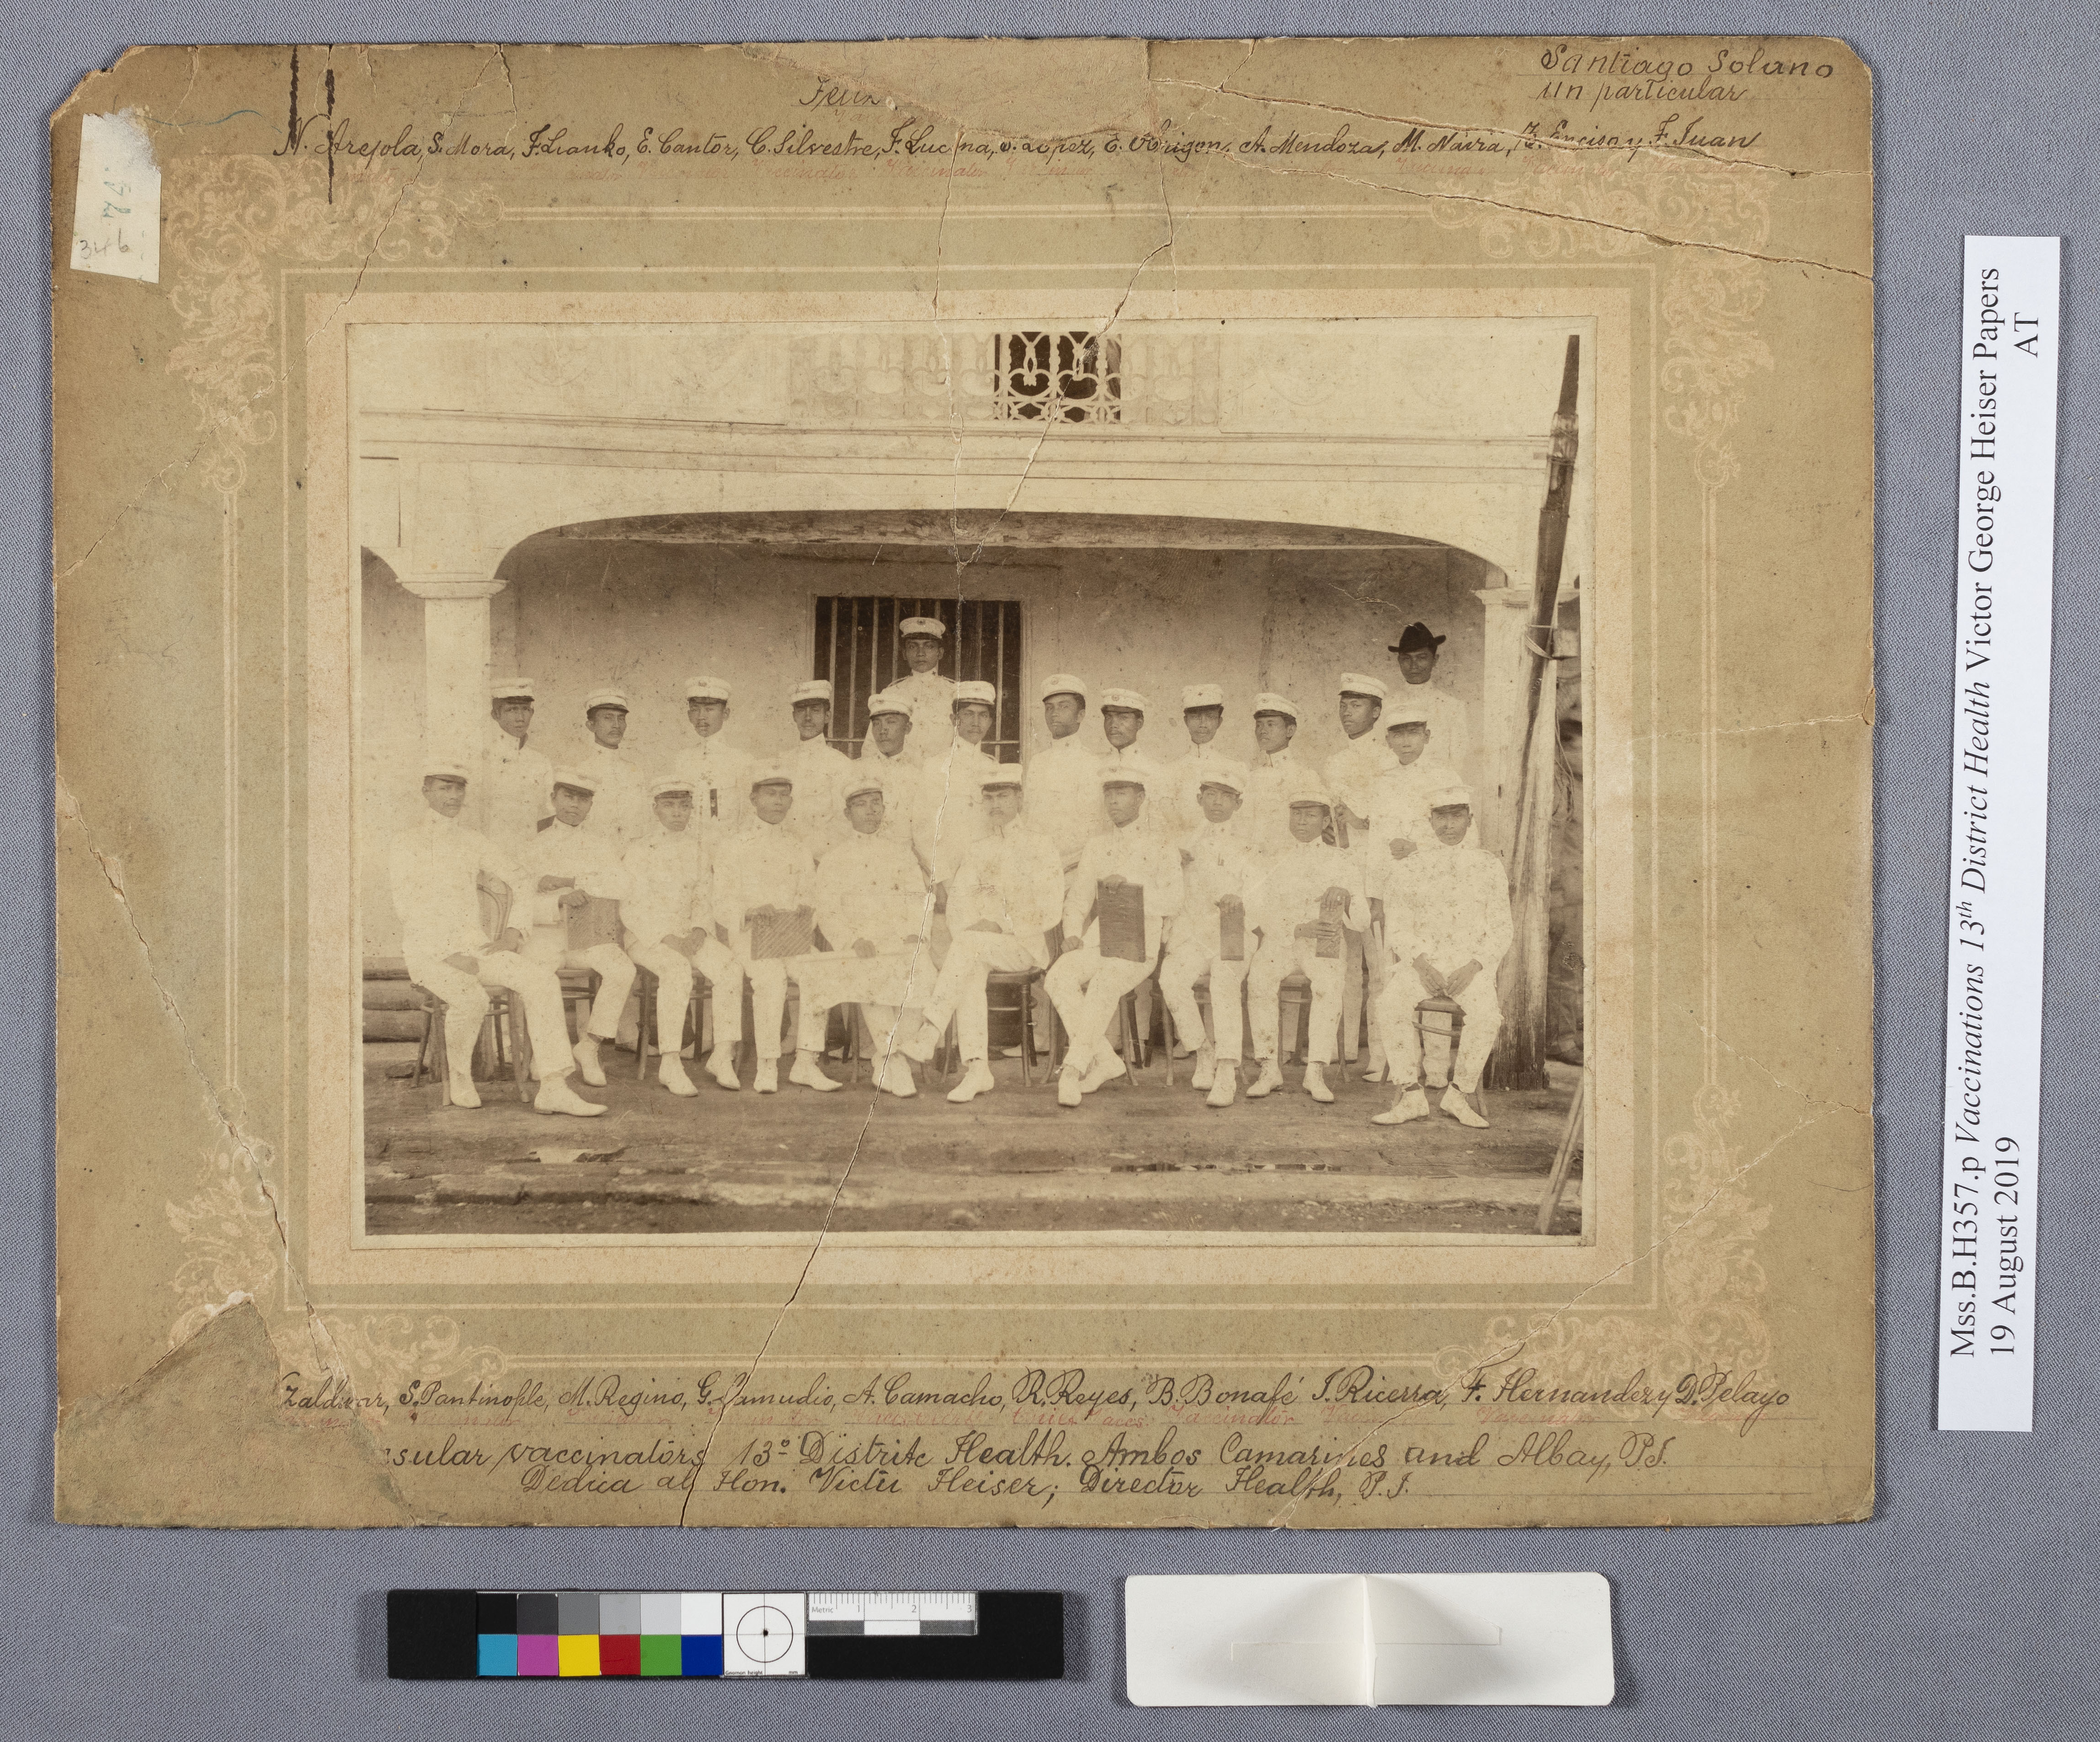
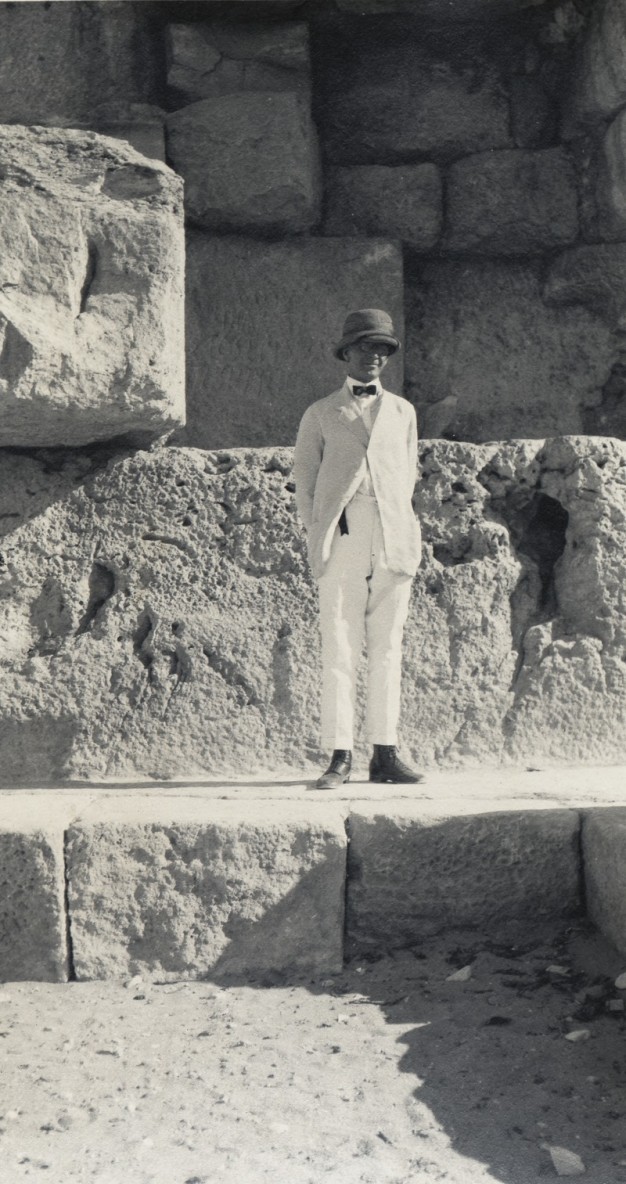
I recently opened a folder to find a photograph mounted onto a paper board and broken into eight pieces. This photograph is from the Victor George Heiser Papers and shows doctors or medical students in front of a building. Dr. Heiser (1873-1972) was a medical doctor and public health administrator. He attended Jefferson Medical College in Philadelphia and went on to serve as a medical examiner at the ports of Boston and New York. From 1905-1914, he served as Director of Health of the Philippines, fighting diseases such as cholera, smallpox, bubonic plague, and leprosy. In 1915, Dr. Heiser became the Associate Director of the International Health Division for the Rockefeller Foundation, traveling around the world inaugurating health campaigns in East Asia.
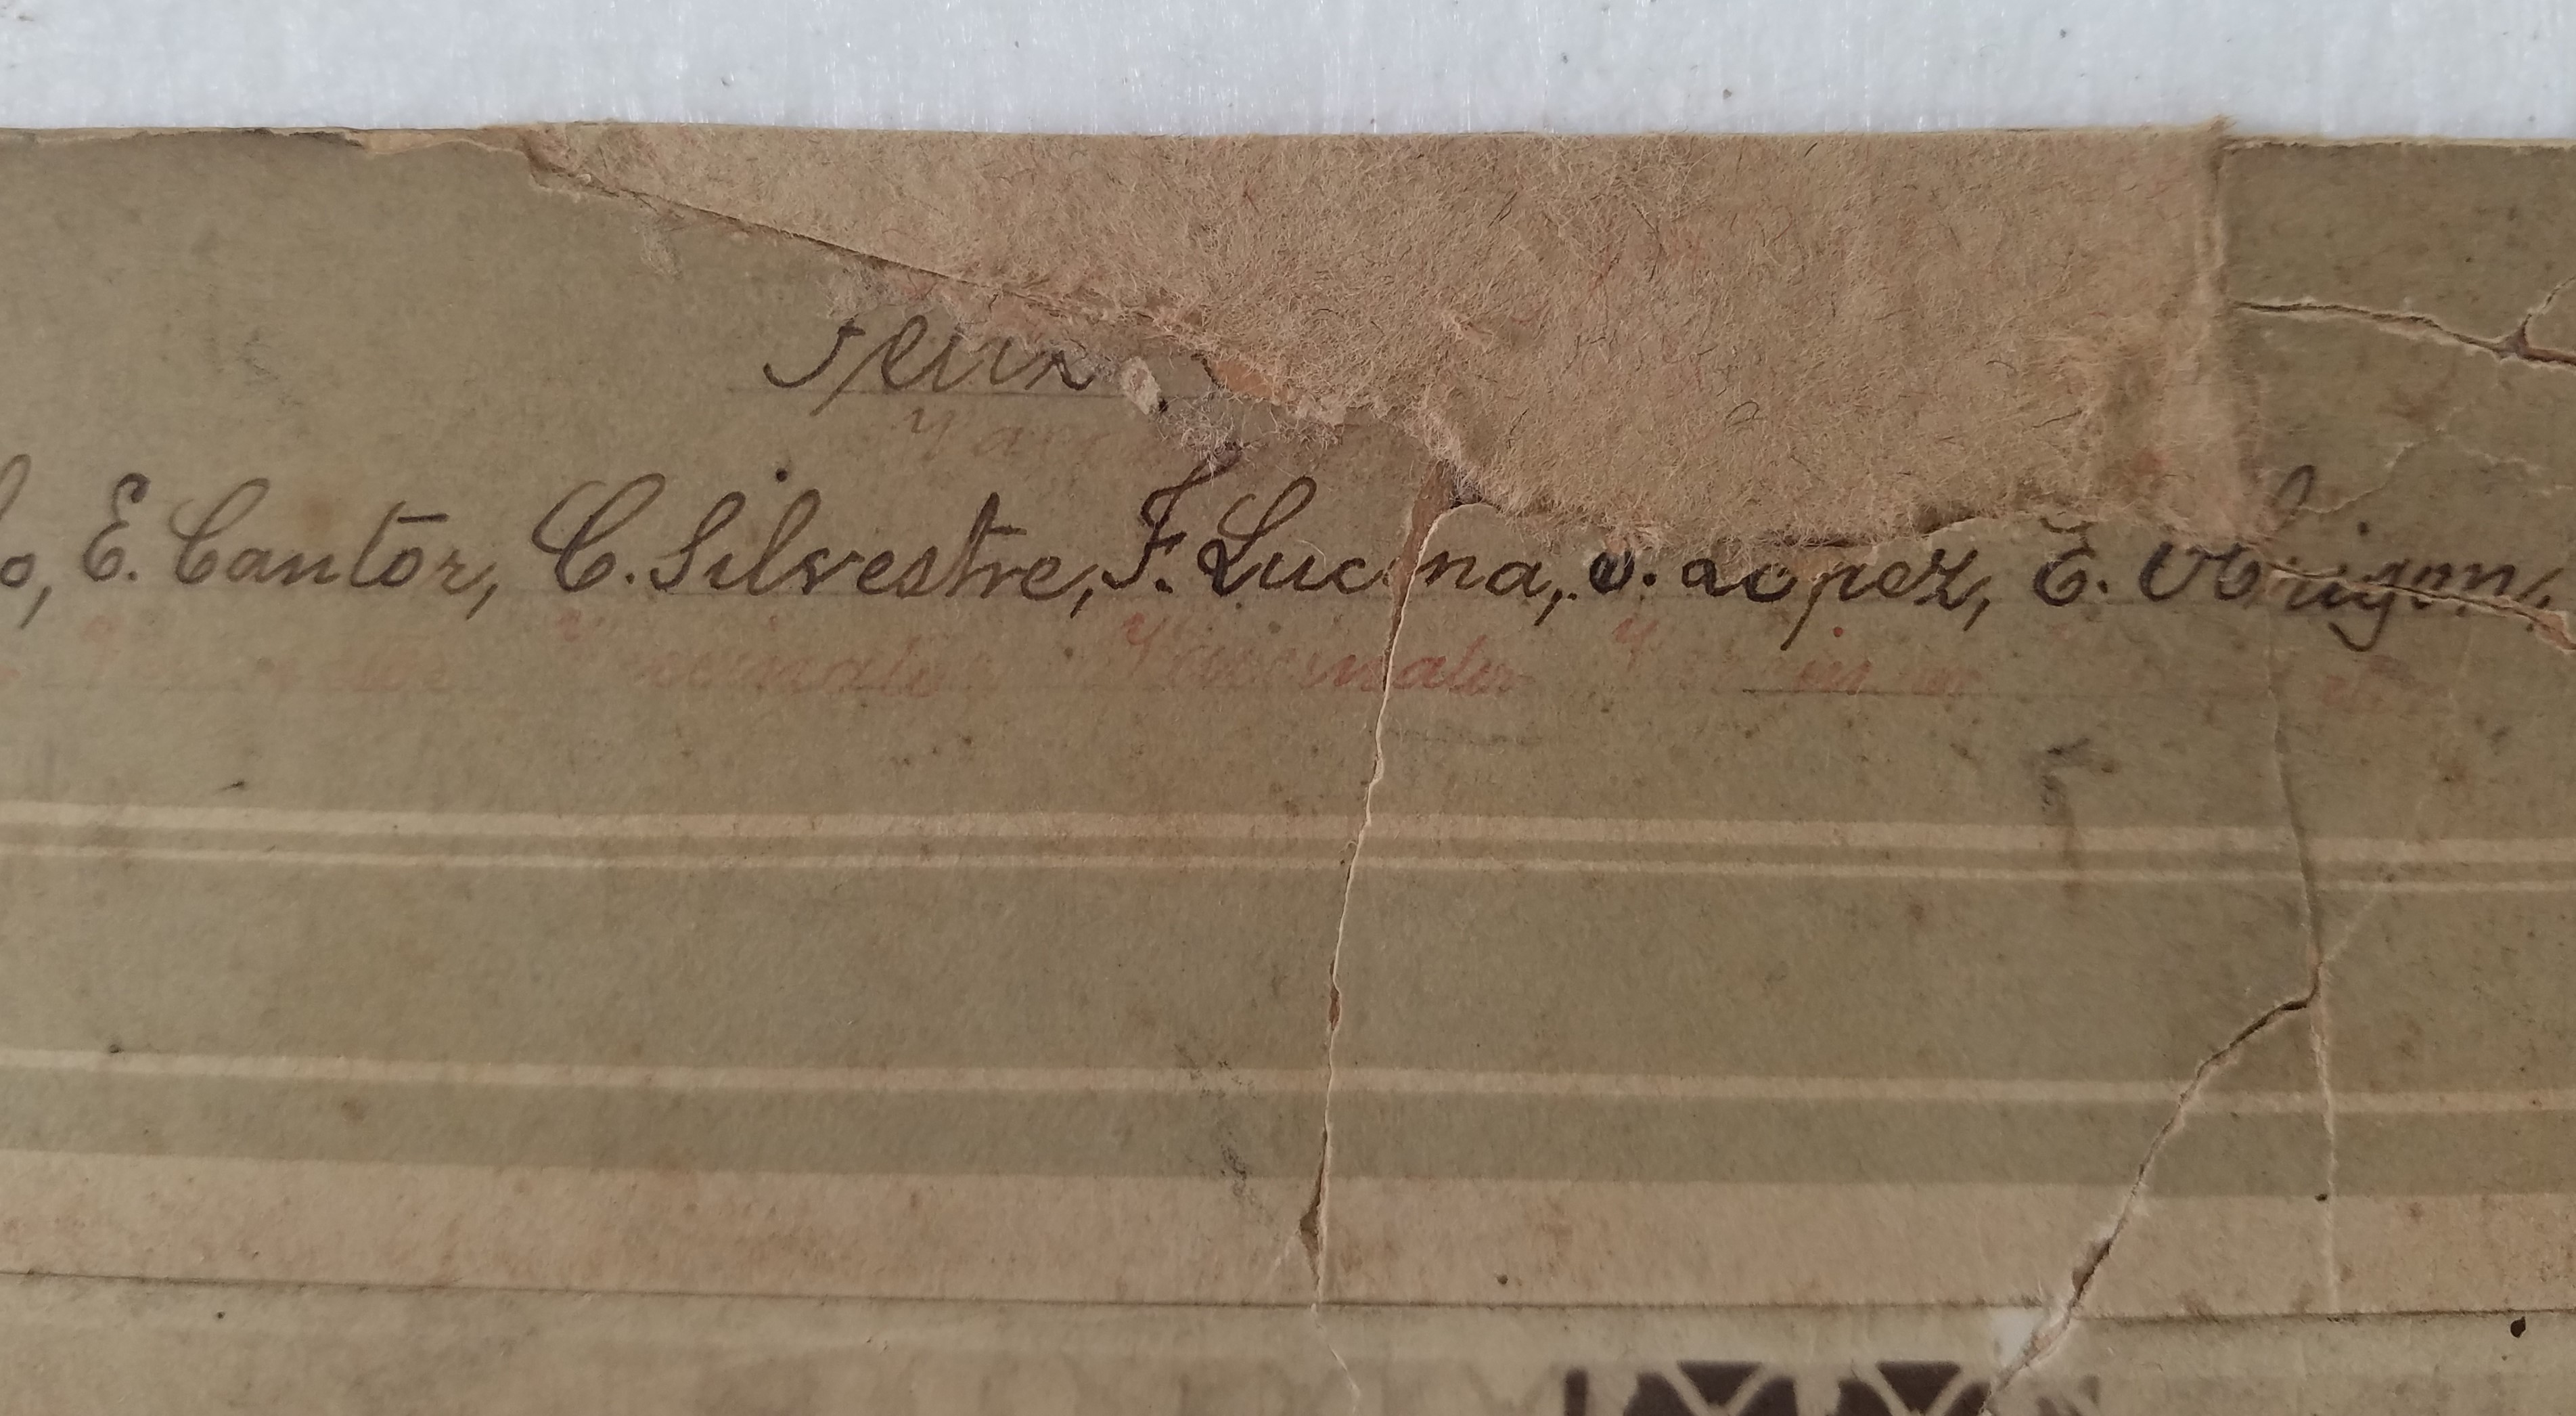
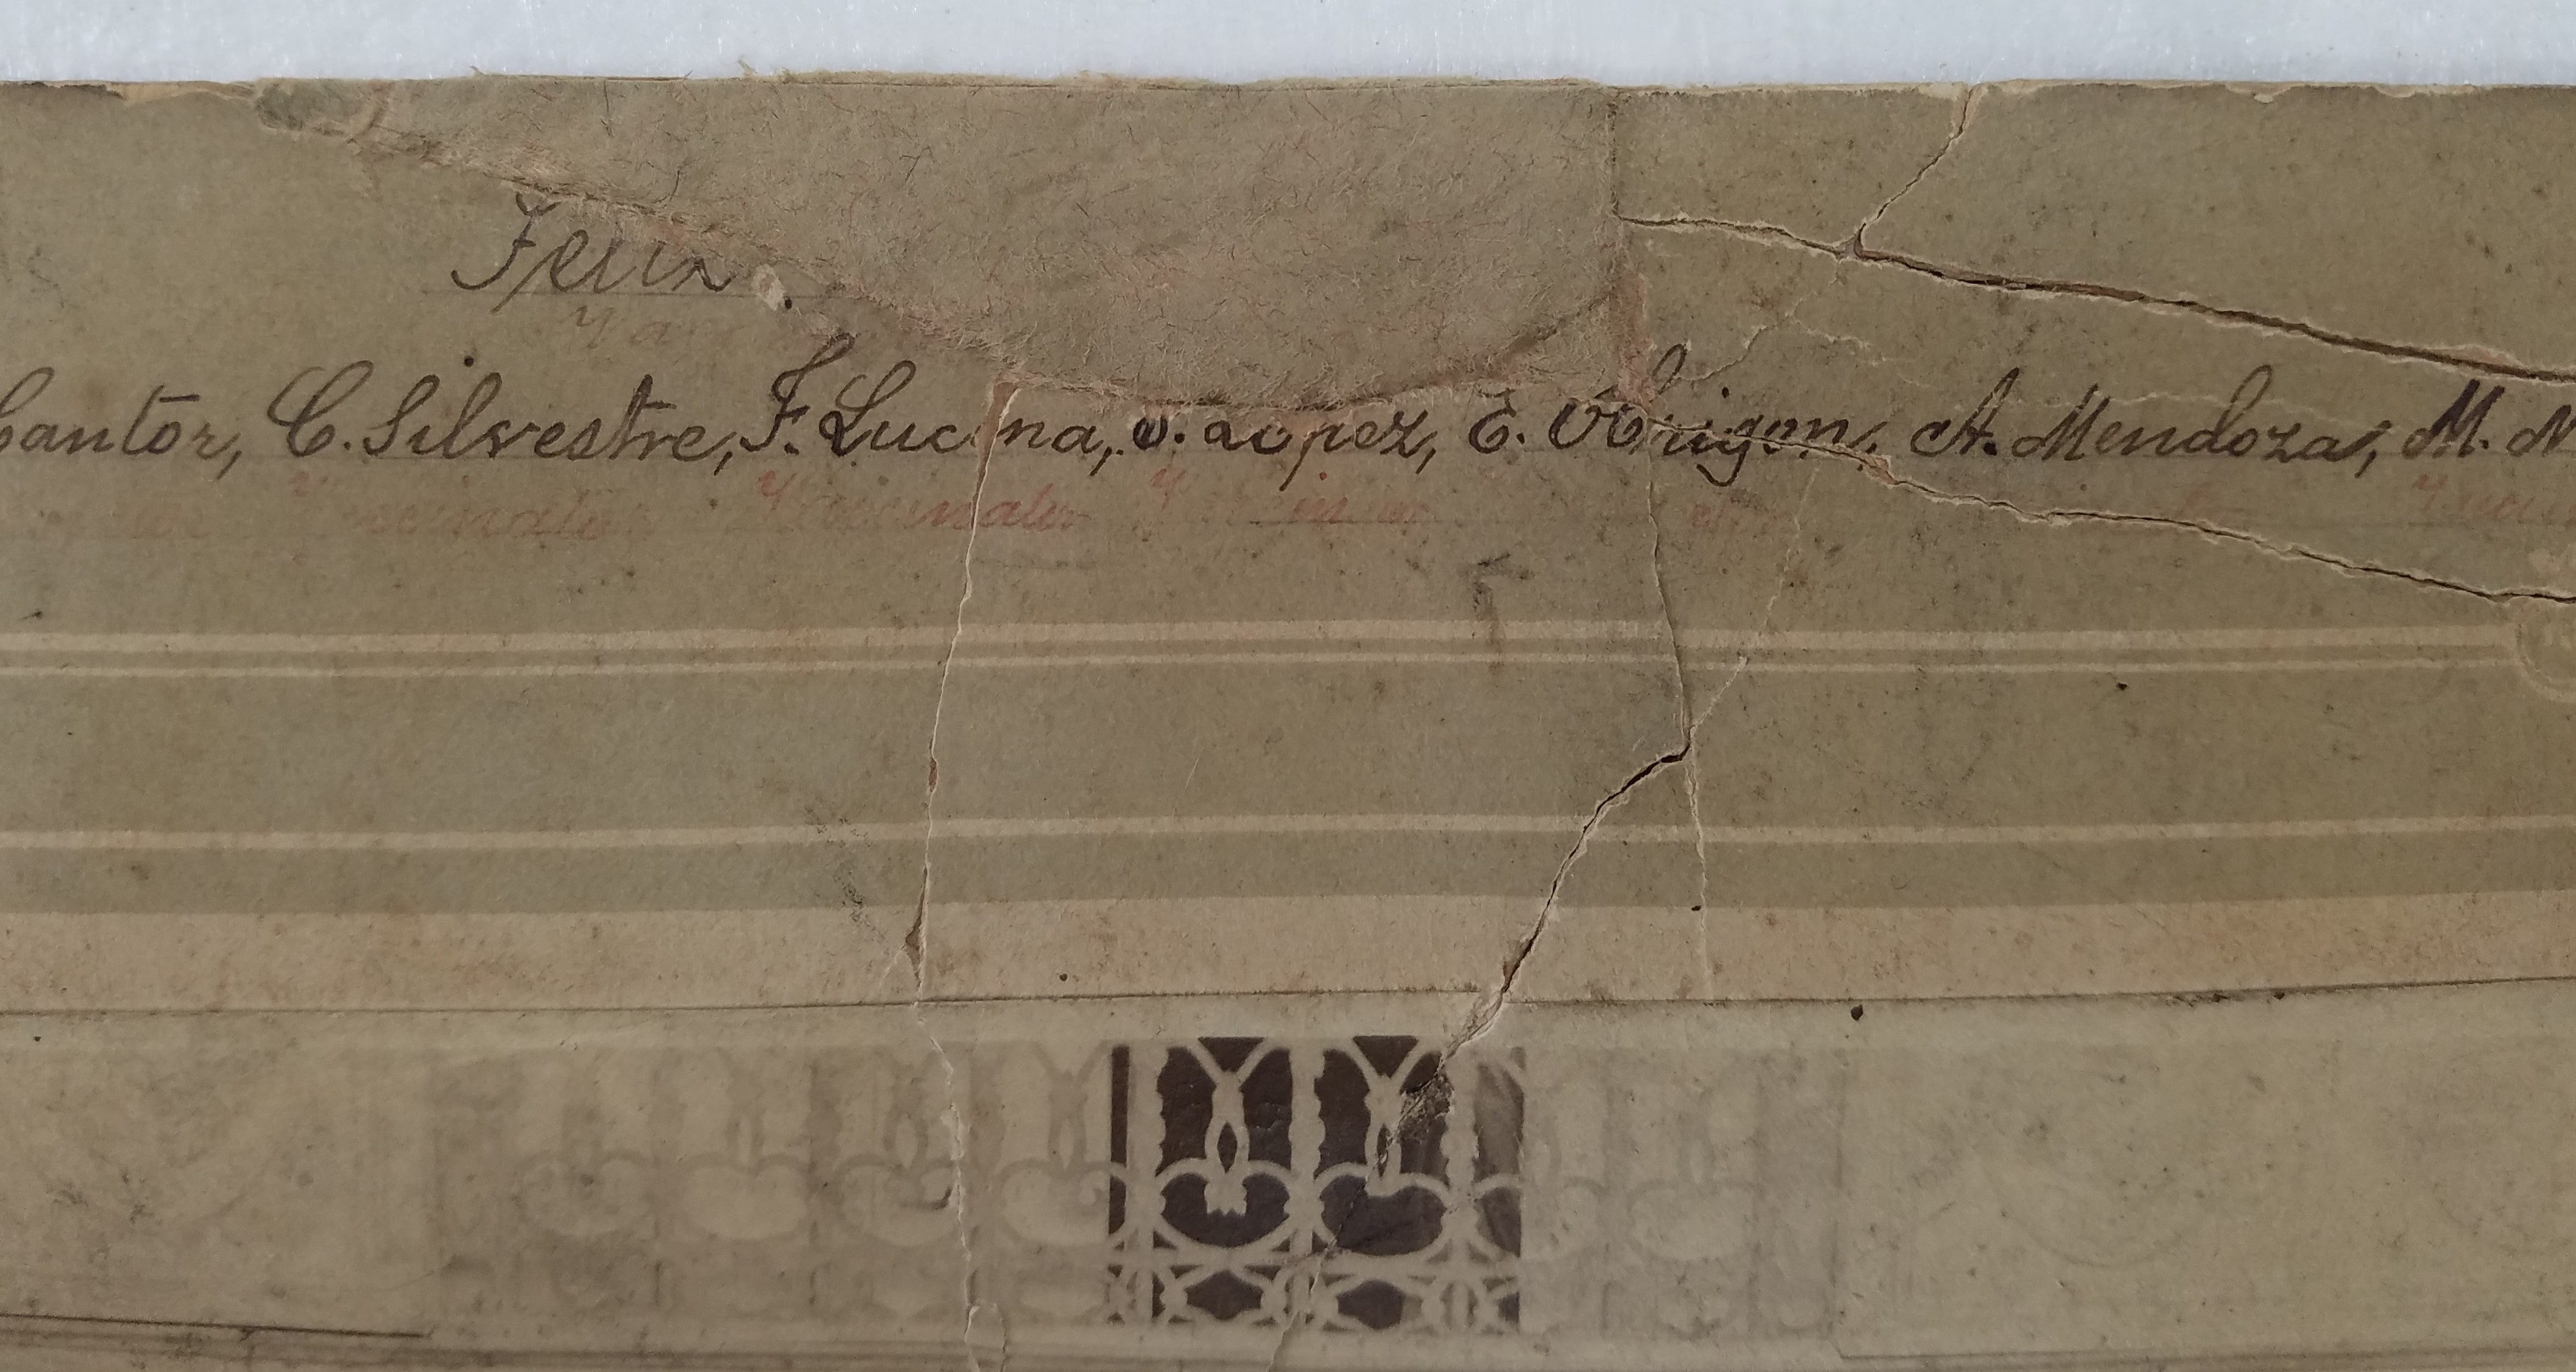
This photograph was incredibly brittle, and though it had inscriptions about the men in the picture, it was hard to read since the photo was in many pieces. I set about putting the photo together by mending it with two common paper conservation materials: Japanese paper and wheat starch paste. Japanese paper has long fibers that make it strong but thin. Wheat starch paste has been used for centuries in Japan, so we know it ages well without deteriorating the photograph.
Once it was in one piece, the photo still had two large losses in the paper board. In order to fill the losses, I used a paper we make in the APS conservation lab. We take expendable old paper and put it through the blender with water to make a paper pulp. Then, we use that pulp to form the sheet on a handmade paper mould, essentially a screen that filters out the water and leaves the pulp on the screen so it forms a sheet. Once it’s dry, it’s ready to use! Since the paper board is green, I toned the paper with watercolors to match the board.


Finally, I wanted to reduce the crack that goes through the center of the photo. I used watercolors to tone the crack so it’s mostly invisible unless you’re looking very closely.
Here’s the final product!


